
This article contains affiliate links. If you choose to click and make a purchase, we may make a commission at no cost to you.
I’m no expert in RV solar panels and electrical systems, and for some people reading, that will be enough to click away, but for others, that’s just what you need.
Some people are just like me – with very little knowledge about how solar panels connect to your RV or camper’s batteries and electrical system – but since we (actually, friends of ours) just finished installing solar panels, batteries, and an inverter/charger in our travel trailer while we were exploring the Fraser Valley in British Columbia. Here are some things I learned.
NOTE: I would recommend working with a professional before purchasing any solar panels for RV application. Again, I’m no expert, and your install will be unique to your needs and your RV’s electrical needs. I have worked with Xantrex before, so we chose their equipment for our installation.
Do I need Solar Panels if I’m plugged in at a campground or RV Park?
Nope. Your power comes from shore power. Solar panels provide virtually no benefit to you if your 30-amp or 50-amp system is plugged into its proper shore power connection.
Some RVers think solar power is an important component to have backup power in case the power at the park goes out. While in our experience, this is rare, it is still possible.
A simpler solution to combat unforeseen power outages at your RV park is to have a backup generator or a battery bank that can run your RV’s essentials until the power is restored.
While your RV probably has a battery currently, you can upgrade that battery to a higher capacity (called higher amp-hours – the number of hours your battery can power one amp) or switch to lithium-ion batteries which are more efficient for both charging and power output. (Lithium Ion can safely be discharged to 0%, while other battery types may be damaged by being drained lower than about 50%).
So the benefit of solar panels for your RV is to replenish power when you’re unplugged (also called Dry Camping, or Boondocking – our favorite is boondocking in Southern California). You can easily go dry camping on just batteries without needing solar for a few days (depending on your battery capacity), so keep in mind that having solar panels on your RV is less about powering the RV – that’s the battery’s job – and more about replenishing power as you go.
How Much Solar Power Do I Need for My RV?

Do you need solar panels for your RV?
This has to be your starting question. How you answer this will determine how you design the components of your system, and how flexible your options will be.
For us, our power needs were determined by many factors, but one factor is our freshwater tank capacity. We have a 43-gallon freshwater tank, which lasts us about 4-5 days (if we’re really intentional about our usage). With that in mind, this means that the most we could spend off-grid without replenishing water is 4-5 days.
We will find a sani-station to dump and refill without plugging into power, so maybe we’re off-grid for 9-10 days with a water refill part way, but we had no need to install a system that would last us a month or two without plugging into electricity. About 9-10 days for us is perfect.
(…and will allow us to boondock off-grid and save money on campgrounds!)
Another consideration is the weight added to our trailer. While technology is getting lighter, it’s still important to recognize that adding RV solar panels, batteries, charge controllers, and all of the wiring, breakers, solar panel kits and connections you’ll need will add a considerable amount of weight to our travel trailer.
(Space and weight are a big reason we ask our family not to go overboard on Christmas presents for our kids. Here’s a list of suggestions we put together Christmas ideas for RVing Families).
If your trailer, or motorhome, or tow vehicle requires you to be conscious about your weight, then this can help determine where your solar system may reach its limits. In this case, a portable solar panel kit may be the best solution, rather than mounting panels.
Here’s the process we used to determine how much power we wanted to store (with our lithium batteries) and generate (with our solar panels) needed:
Step 1: Figure out how much power your RV uses in an average day
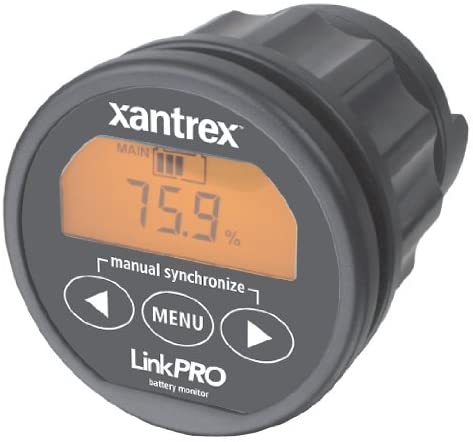 To do this, we used a Xantrex Linkpro which allowed us to track our power usage with the battery that came with the trailer. The Linkpro will show you the percentage of your battery that you have left in a percentage (not like the built-in battery monitor that often shows 25%, 50%, 75%, or 100%).
Unplug your RV from the pedestal, then spend the day the way you normally would. Note: Don’t decide to be extra conservative with power by grilling on the BBQ if you usually use the microwave for cooking in your RV kitchen.
The Linkpro was able to tell us that we were using about 40% of our previous battery in a day. We took our battery amp-hours and figured out how many amp-hours was equivalent to 40% to figure out an average day’s usage.
One thing this didn’t account for is that we didn’t have an inverter on our rig from the factory, so we couldn’t use power outlets – we couldn’t run the instant pot, or charge a laptop or phone, or other electronics that need to be plugged in like a TV, but we could still use the 12V lights, vent fans, propane fridge, etc.
We knew that our power usage was going to be a bit more than that 40% because we would also be plugging in our laptops or phones, so we factored in another 10%, assuming that we’ll be much more power-conscious than average when we’re boondocking.
You’ll need a kilowatt meter (or something similar) to see how much draw certain appliances need. For us, we have an outdoor kitchen that has a small bar fridge. Using a meter, we discovered that it draws a fair amount of power, so we keep it turned off while we’re off-grid, and basically use it like a cooler, storing things that won’t spoil – soda, condiments, etc.
Step 2: How long do you want to depend on your RV Solar Panels and be unplugged from electricity?
- Are you wanting to stop overnight at a Boondockers Welcome site between campgrounds?
- Would you like to take a weekend away?
- Are you hoping to visit the Albuquerque Balloon Fiesta and be without electrical hookups for a whole week?
- Does a month in the desert camping on BLM land sound like paradise to you?
- Would you like to winter on a beach in Baja, Mexico and will want to be sure you’ve got the power to be off-grid for months at a time?
- Are you hoping to stay off-grid for most of the year? (If you’re thinking about staying off-grid most of the year, then here are some of our favorite RV life hacks.)
Amp-hours per day from your kilowatt meter lets you know how much power you’re depleting in a day. Now determine how much you want to try and put back into the system.
If you are using 50amp hours and you want to stay off-grid for 2 days at a time, then you need a 100ah usage – either a 100ah lithium battery or a 200ah battery of AGM or lead-acid. You won’t need any solar to replenish, because you’ll always be in a position to refill once you get down to 50%.
If you’re using 50amp hours (ah) a day, and you want to boondock for a week, then you’ll need 350ah at your disposal. You could do this by purchasing batteries that will sustain you for more than 350ah, or you could get smaller capacity batteries and add on solar panels to replenish you when the sun is out.
You’ll also want to know if you want your solar panels to slow down (sometimes called stepping down) how fast you drain your batteries, or if you want your panels to completely replenish your batteries.
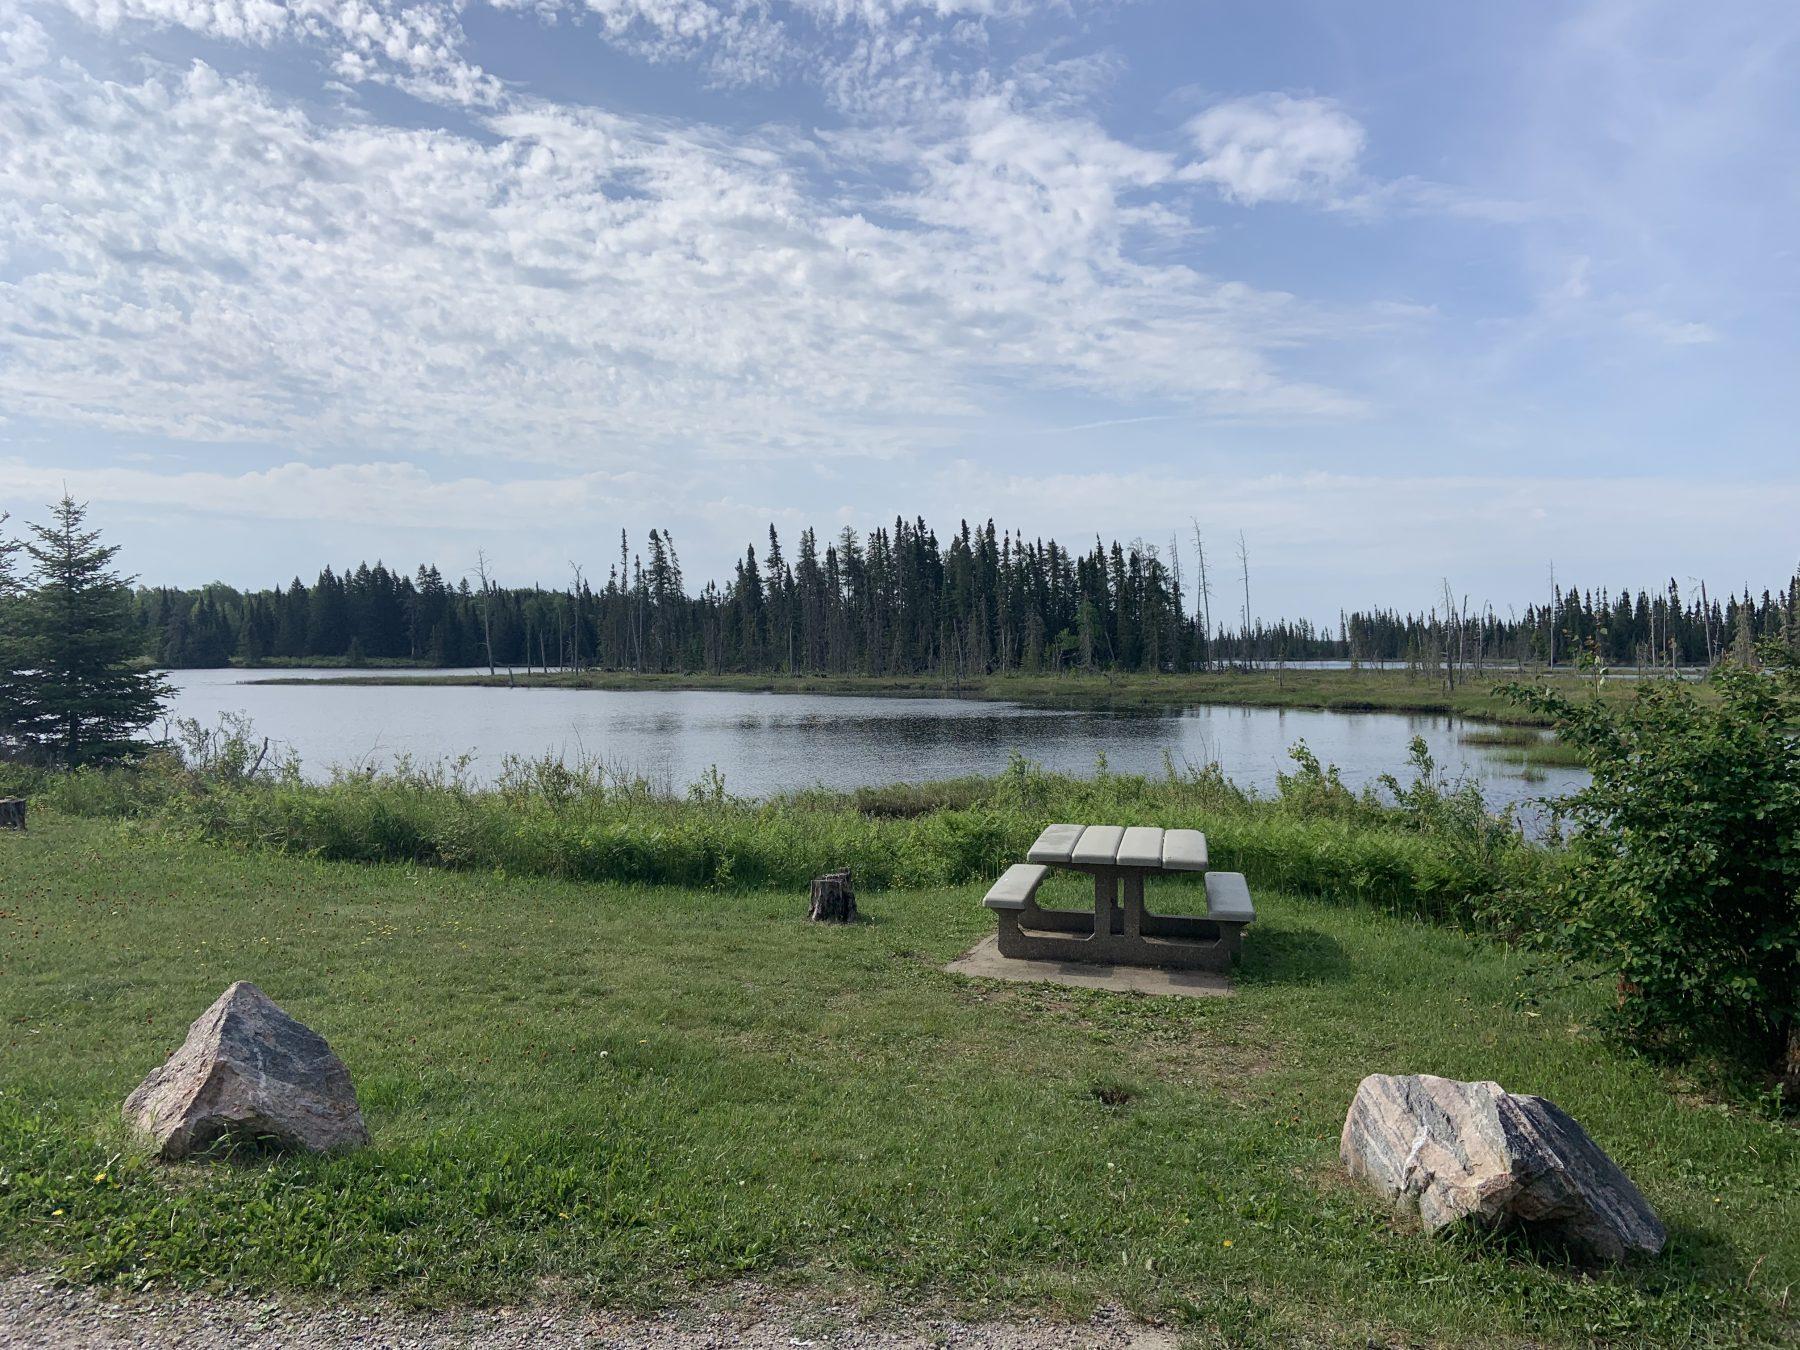
Boondocking in Northern Ontario, Canada thanks to the solar panels on our RV
Stepping down is when you use more power than you replenish. For example, if you use 40% and replenish 20% each day, meaning your net drain is 20% per day. On day one, you net do to 80%, day 2 net down to 60%, day 3, net down to 40%, etc. With a step-down strategy, your batteries will eventually get down to 0%, but the energy from your solar panels will slow that drain – in this case, you’ll stay off-grid longer than if you simply drained 40% without and gain from your solar.
Completely replenishing your batteries means that on a sunny day, you’ll need to put back in as much energy as you used – this takes much more energy from your solar panels, but your power can last indefinitely.
Remember to give yourself some margin, as with everything related to life on the road. The sun won’t always be out, sometimes you’ll use a little more than usual, and other times, you might be parked underneath a beautiful tree – beautiful to the eyes, but not beautiful to your RV solar panel.
With this information, this is where a professional comes in to do some calculations with you about your energy usage, recommendations for battery capacity, and the number and wattage of the panels you’ll need. Here’s an online calculator to get you started.
Keep in mind the weather you’re wanting to mitigate against. If you plan to spend winters in the desert southwest, and summers in the north, a single ceiling fan might be sufficient to keep air circulating.
If you’re planning to try and RV in winter in Canada or RV in summer heat of Texas, you might think twice about investing in solar and instead just pay to be fully powered at a campground.
What other components do I need to install solar panels on my RV?
Before we got started, I was under the (mistaken) impression that we simply connect solar panels to the battery – maybe we needed an adapter – and then the battery would take in the energy that it needs from the sun and send it out to the RV. Not quite.
I’m assuming you’re not as uninformed as I was, and you’ll need to be aware that there’s more to your RV solar system than just buying panels.
Here are the components we needed in our RV solar power system:
Xantrex Solar Panels – this one is obvious. These are the panels that absorb solar energy and turn it into electricity.
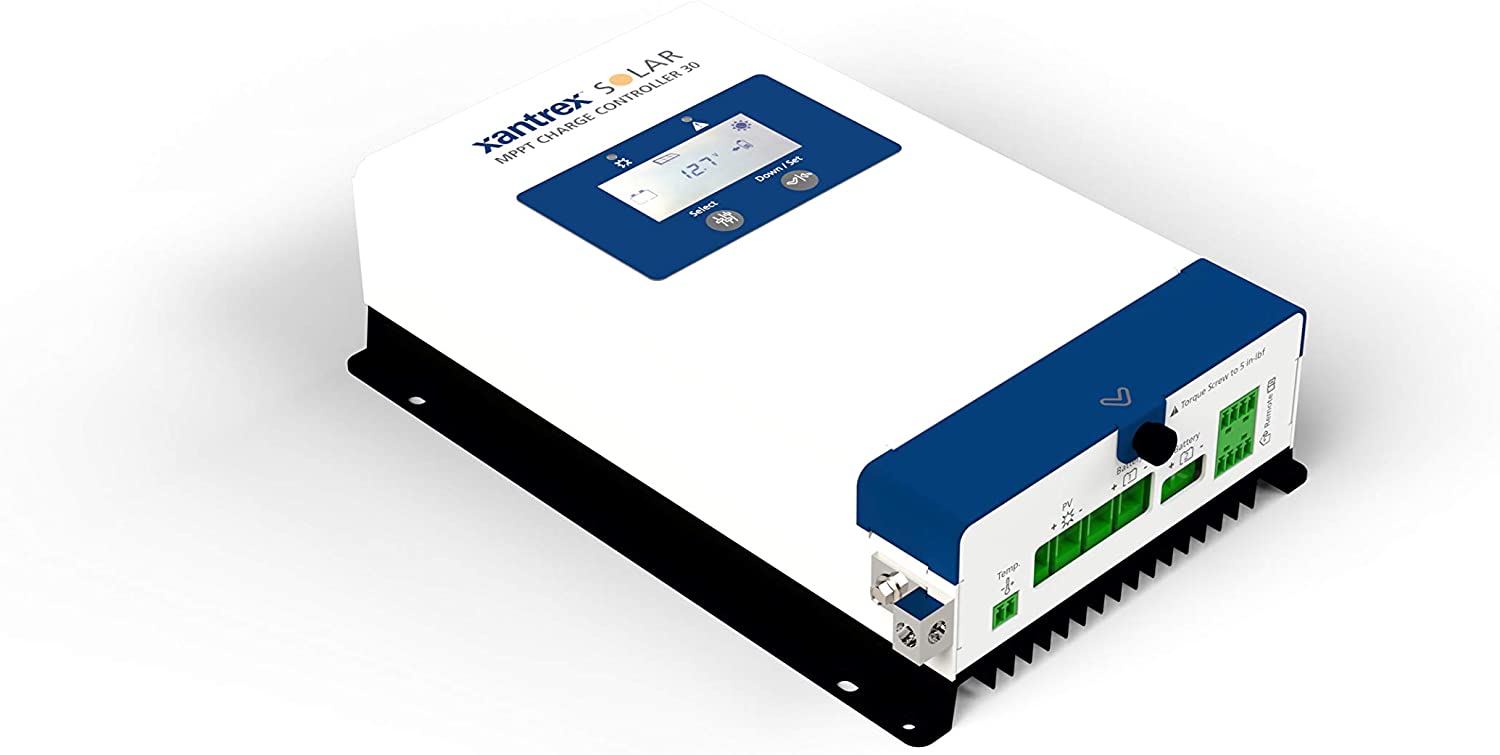
Our Xantrex solar charge controller is the the middle man between our RV batteries and our RV solar panels
Xantrex Solar Charge Controller – this piece is the middle man between the panels and the batteries.
It stops allowing the flow of electricity once the batteries are full and allows the flow again once the batteries need recharging.
There are two types of solar charge controllers: MPPT & PWM. Without getting into the differences – because I’m no scientist – the MPPT version is more expensive but more efficient in collecting power.
Xantrex Inverter/Charger Freedom XC 2000 – The inverter charge has 2 functions (as the name suggests). It inverts DC power into AC power, so we can charge a laptop in an outlet from the 12V battery, run the instant pot, or charge our phones. It charges the batteries if they are depleted when we plug into shore power so we’re ready to go back out again after a top-up. NOTE: Not all chargers will work with lithium batteries, so check ahead. This one does.
Lithium Batteries – We decided that for us, we needed 2 x 100ah Lithium-Ion Batteries. (Ah) stands for Amp hours; the number of hours you could run a 1-amp device. If an LED light is 1 amp/hour, then we can run that LED for 200 hours on our system from full to depleted. If the microwave takes 100 amps/hour, then we can run it for 2 hours from full to depleted. (clearly, we try not to use the microwave very much while drycamping or boondocking.
Xantrex Freedom Control Panel – This panel monitors our inverter charger, lets us know if it’s charging or our power is running off the batteries, and allows us a way inside our RV to reset it if we overload the circuit (similar to popping a breaker in a sticks-and-bricks home).
Xantrex Linkpro – This monitors our battery usage and shows some helpful stats like the exact percentage left in our battery – as I’m writing this, I can see that I have 97.8% battery power left, and as the sun is setting, I’m netting -3amps to charge my laptop and have a few lights on. This may be a small component of a solar system battery system, but not having to make a manual check on battery status enhances our quality of life off-grid.
We also know that on average overnight, we’ll use about 25% of our battery power, so as long as we have more than 25% when we go to sleep, we don’t have to worry about waking up without power.
Aside from this equipment, keep in mind that you’ll need some breakers, cabling, wire, fuses, screws, and plenty of dicor RV sealant. These bits and pieces add up, and for us, they worked out to about 20% of our solar system.
How do I install Solar Panels on an RV or Camper?
This is a good question, and honestly, we wouldn’t have been able to do it without help from our friends who installed and expanded a solar panel system on their rig and asked another friend who is an electrical engineer to look over their diagram.
Each piece seemed relatively straight forward, but engineering the whole system with proper fuses for positive lines, calculating wire diameter to be sure we used 2/0 cable where needed and 10 gauge cable in other places, where to drill holes in the roof and reseal them so they don’t leak. Listen, I can throw sugar into a mixer, but I can’t make a pie.
While each piece of a solar system seems to be logical and rather straight forward, putting the whole thing together is something I that I would recommend leaving to a professional installer. I can’t imagine something going wrong and not having power, or worse yet, ruining the entire electrical system in our RV because I wanted to do it myself.
If you’re set on doing it yourself, YouTube can be a great resource:
Your RV Solar Panel System will be customized to you
Buying a solar panel kit may seem tempting – the thought of a solar kit sounds like you simply setup whatever comes in the box and then you have power – but your individual needs from battery capacity to solar wattage to weight to how you’ll use your system will determine the right product for each piece of your installation and the right solar panel for an RV that fits a lifestyle like yours.
Once you discover what you’ll need, there may be solar kits that fit those needs, but start with your needs, not one of the off-the-shelf solar kits.
Consider Alternative To Installing Solar Panels on your RV:
Portable Solar USB Charger: Along with the 12V system running in your RV off of your battery, you may want something simple to charge your phone while you’re off-grid for the lowest possible price. Without any installation, you can use a portable solar charger to keep your phone charged in case of emergency, or wanting to relax with a round of candy crush.
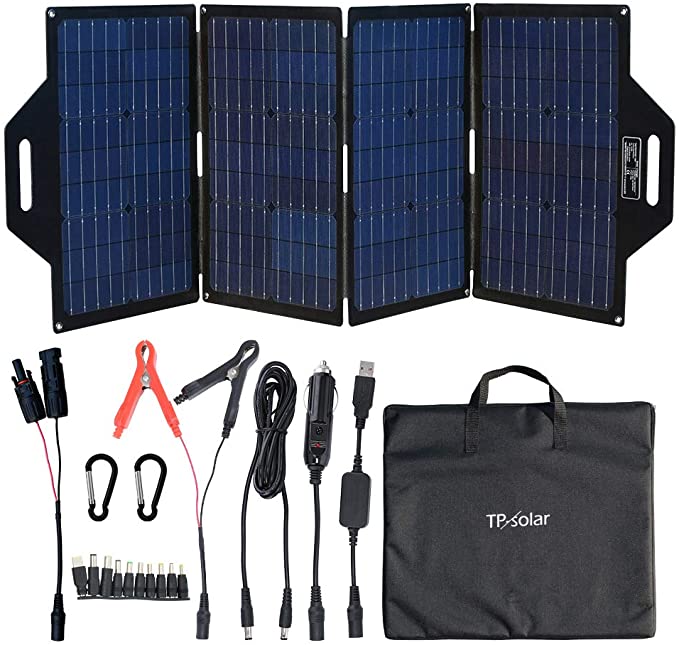
Can folding solar panels work for an RV?
Moveable / Foldable Solar Panels: These 120-watt panels probably won’t replenish your battery usage, but they will be able to slow the drain on your batteries to allow you to stay off-grid longer. These solutions allow you to put the panels on the ground outside and keep them in sunlight as the sun moves to produce as much power as possible. They are easily stored since they fold.
Portable Battery Bank: If you need additional power, or 120V power if you don’t have an inverter, then a portable battery bank with built-in outlets to charge multiple devices, run a fan or CPAP is a great option. This specific one will charge while you drive so you can make multiple stops and recharge this device over multiple nights.
Generator: While generators can be loud and disturb your time away boondocking, they also are a reliable way to charge or run your RV’s electrical system. Some have 30amp connections right on the unit, and you can simply plugin as if you were at a pedestal. While there is the ongoing expense of fuel, you may find that a battery and generator are best suited for your short times off-grid, and flexibility to have full power, even if the sun isn’t out.
If you’re exploring the option of solar because you’re new to RVing, check out this list of 15 RV accessories we discovered we needed in our first 90 days on the road and if you’re in the process of installing Solar on your RV, then you’ll want to learn about where to find boondocking in US and Canada to try out your system!